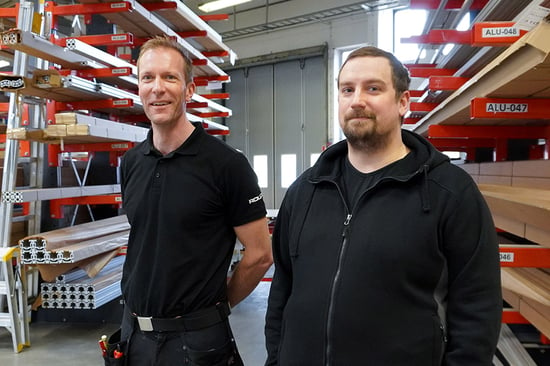
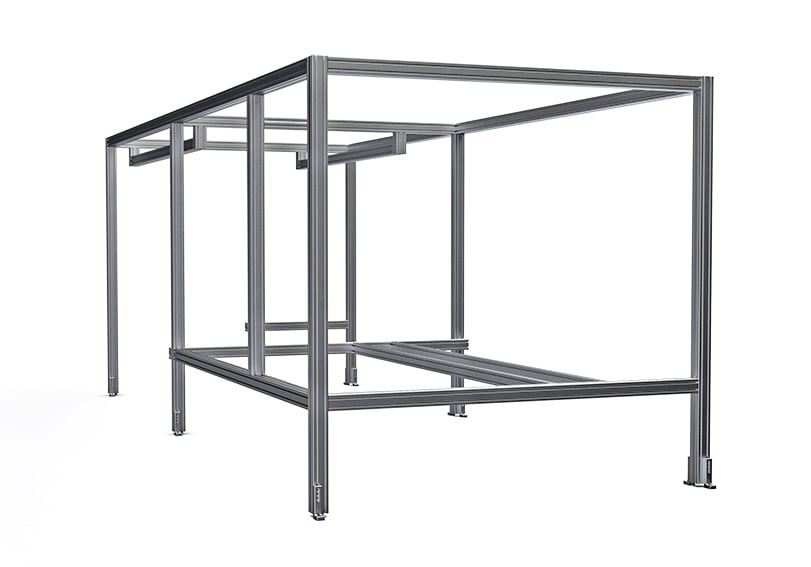
Constructing an aluminium stand is primarily about creating a functional solution. But it is also about optimising the construction to ensure the assembly is simple and cost-effective without sacrificing quality. Our fitters Henrik Rönn and Niclas Hellgren give some tips to you as a designer.
5 tips on how to construct a better aluminium stand
What kind of fastener you choose, slot depth on the profile and different types of feet are some things you need to consider when constructing an aluminium stand. Here we have put together five tips on how to ensure that your construction can be assembled quickly and works optimally.
1. Choose the right fastener
To bind the aluminium profiles together, there are about ten different types of fasteners. It is important to choose the right one so that manufacturing and assembly are as simple as possible. In the case of sheet material, a central fastener or a special variant of a standard fastener is preferred. What to choose depends on the strength you want to achieve.
– In general, you can say that a more expensive fastener often results in a shorter processing time, says Henrik. In the end, the cost will thus be roughly the same regardless of which fastener you choose. A good piece of advice is to not only look at the price tag.
2. Rules of thumb for sizing protective glass
Machine protections often consist of plastic sheets attached with fixing blocks or inserted directly into the aluminium profile's slot. Different systems have different slot depths, which affects the dimensions of the sheet. If, for example, it is system 5, you must add 10 mm to the inner dimension all around. For system 6, 15 mm applies, and system 40 applies 20 mm.
– We usually recommend choosing a sheet thickness of 5 mm instead of 4 mm regardless of whether you are going to slot them or use blocks, says Niclas. There is no big difference in the thicknesses, but 5 mm has better strength and looks better.

3. Think through the choice of feet
Which feet to choose is not something you usually give much thought to, but there are reasons to do so. Namely, it affects the assembly time.
– We recommend a foot plate because it is much easier to mount, says Henrik. There is no need to thread central holes in the aluminium profile. As a designer, you might think it will be cheaper without a footplate, but the whole will be more affordable. It is much faster to install a foot plate because it is pre-threaded.
4. Use the correct handle
The type of handle you choose has an impact on the assembly time. Choosing a holed handle instead of a threaded handle means it can be screwed from the outside instead of the back through the profile.
– There will be a lower processing cost because otherwise, we have to put the profile in a pillar drill and drill holes in it, says Niclas.
In general, it is more efficient to work with open profiles and work with slotted nuts instead of machining the profile.
– It is always easier when you work with the system as it is intended, says Henrik. Taking advantage of all its benefits and letting it work for you, rather than against you.
5. Trim the belt conveyor
The last tip is more from fitter to fitter and is about tuning. When a belt conveyor is delivered, the belts are always adjusted, but a new adjustment may be necessary once the belt conveyor is in place. The surface where the belt conveyor is placed has a large impact, and there may have been an extension of the belts during transport. How to do this depends on the type of operation.
– If it's end drive, there's nothing strange. Then there are three adjustment points in the corners that trim the rollers so that the belt runs straight and fine, says Henrik. With middle drive, there are eight adjustment points. We recommend you adjust them in the middle, where the belt enters the drive roller. It creates the most effect.

